
Uncategorized
Milling 80 Lower
Mar
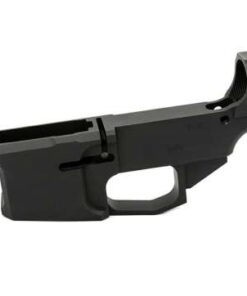
AR-15 80% LOWER RECEIVERS
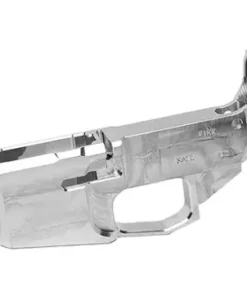
Type III Hard Anodized Billet AR-15 80% Lower Receiver – Classic – Blemished

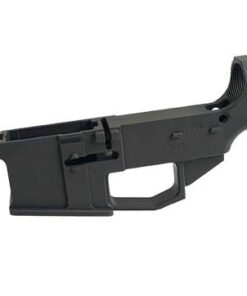
AR-15 80% LOWER RECEIVERS
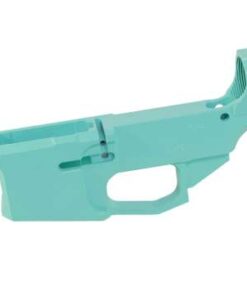
Type III Hard Anodized Billet AR-15 80% Lower Receiver – Classic
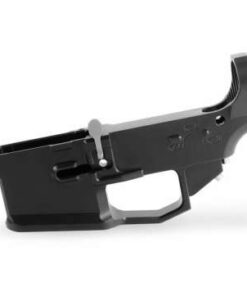
AR-15 80% LOWER RECEIVERS
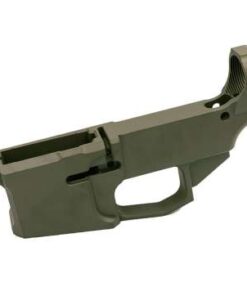
Type III Hard Anodized Billet AR-15 80% Lower Receiver – Ambi
AR-15 80% LOWER RECEIVERS
AR-15 80% LOWER RECEIVERS
AR-15 80% LOWER RECEIVERS

AR-15 80% LOWER RECEIVERS
AR-15 80% LOWER RECEIVERS
Milling 80 Lower: A Comprehensive Guide for DIY Enthusiasts
Introduction to Milling 80 Lowers
Milling 80 lowers is an essential step for anyone looking to build their own AR-15 or other firearms from an 80% lower receiver. This process allows you to create a fully functional lower that complies with legal requirements while providing the satisfaction of crafting your own ghost gun for sale firearm. In this guide, we’ll cover the milling process, tools you’ll need, and tips for success.
What is an 80 Lower?
An 80 lower is an unfinished lower receiver that is not classified as a firearm under federal law. This means you can purchase it without the need for a background check. The term “80%” refers to the fact that approximately 80% of the machining has been completed, leaving the buyer to finish the remaining work.
Importance of Milling 80 Lowers
Milling an 80 lower is crucial because it transforms the unfinished receiver into a functional part of the firearm. This process involves drilling, milling, and shaping the lower to meet specific requirements for assembly.
Tools Needed for Milling 80 Lowers
To successfully mill an 80 lower, you will need the following tools:
- Milling Machine or Router: A milling machine is ideal, but a router can also be used with the right jig.
- 80 Lower Jig: This tool holds the lower receiver in place and guides the milling process for accuracy.
- Drills and Bits: Various sizes of drill bits are necessary for creating holes for pins and components.
- Cutting Fluid: To reduce friction and heat during milling, cutting fluid is recommended.
- Safety Gear: Always wear safety glasses and hearing protection when operating machinery.
Steps for Milling an 80 Lower
Milling an 80 lower is a straightforward process when you follow these steps:
- Set Up Your Workspace: Ensure your workspace is clean and organized. Secure your milling machine or router in place.
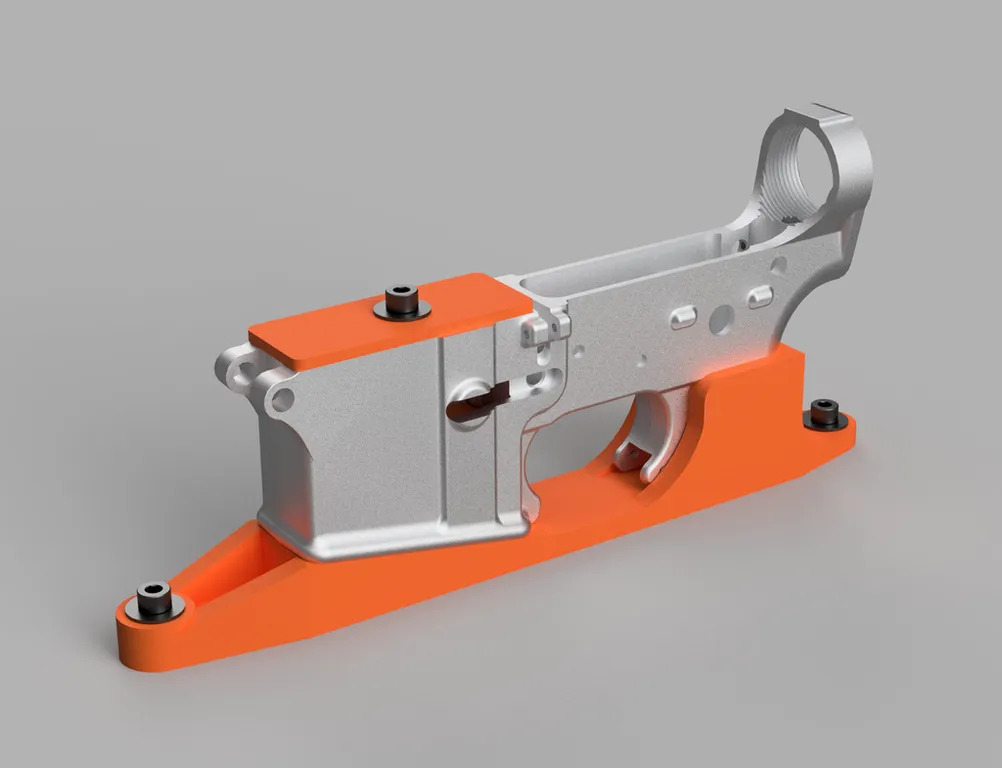
- Attach the 80 Lower Jig: Place the jig on your machine and secure the 80 lower receiver in the jig according to the manufacturer’s instructions.
- Drill Initial Holes: Use the appropriate drill bits to create the necessary holes for the trigger, safety selector, and other components.
- Mill Out the Fire Control Pocket: Carefully mill out the fire control pocket using your milling machine or router, following the jig’s guides for precision.
- Clean Up the Edges: After milling, clean up any rough edges and ensure all holes are properly shaped and sized.
- Inspect Your Work: Double-check your milling job for accuracy, ensuring all measurements meet specifications.
Tips for Successful Milling
- Take Your Time: Precision is key in milling 80 lowers. Rushing can lead to mistakes.
- Use Quality Tools: Invest in high-quality bits and tools to achieve the best results.
- Follow Instructions: Stick to the guidelines provided with your jig and tools to ensure a successful outcome.
- Practice Safety: Always prioritize safety by wearing protective gear and following safety protocols.
Conclusion
Milling an 80 lower is a rewarding and fulfilling process that allows you to create a custom firearm tailored to your needs. With the right tools and knowledge, you can successfully complete your lower receiver and enjoy the pride of building your own AR-15.
Explore More
For further insights, consider checking out:
- Best Tools for Milling 80 Lowers
- Common Mistakes When Milling 80 Lowers and How to Avoid Them
- Legal Aspects of Building Your Own Firearm
By understanding the milling process and preparing adequately, you can achieve a high-quality finish on your 80 lower, setting the foundation for a successful firearm build.