
Uncategorized
AR-15 Pistol Build
Mar
AR-15 Pistol Build Kits
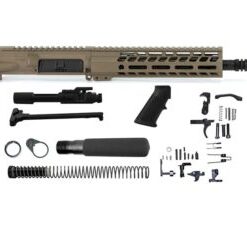
Ghost Firearms Elite 10.5″ 5.56 NATO Pistol Kit – Flat Dark Earth FDE
AR-15 Parts
AR-15 Parts
AR-15 Parts
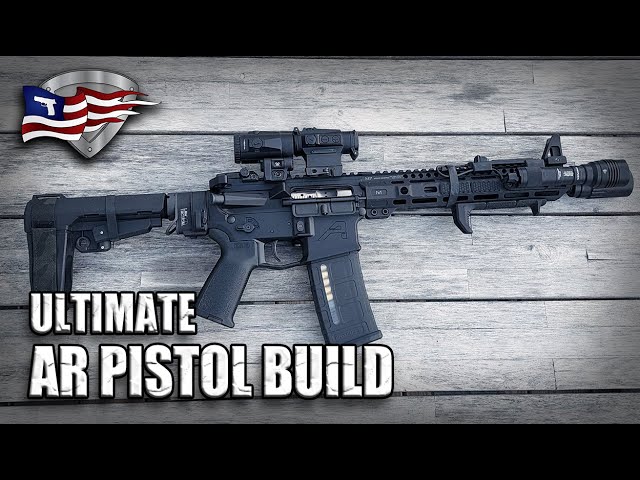
The Ultimate Guide to Building an AR-15 Pistol: Assemble Your Custom Firearm
Building your own AR-15 pistol can be a rewarding project for firearm enthusiasts looking to customize their firearms to suit personal preferences and needs. With the right components and knowledge, you can create a compact, versatile weapon tailored to your specifications. In this comprehensive guide, we’ll explore the essential parts required for an AR-15 pistol build, the benefits of building your own, and a step-by-step process to help you through your first build.
What is an AR-15 Pistol?
An AR-15 pistol is a compact firearm that utilizes the same direct impingement design as its rifle counterpart but is configured without a stock and typically has a shorter barrel (generally 10.5 inches to 16 inches). This configuration provides versatility and maneuverability, making it a popular choice for home defense, recreational shooting, and even competition.
Benefits of Building Your Own AR-15 Pistol
1. Customization
When you build your own ghost gun for sale AR-15 pistol, you have total control over every component. You can choose the barrel length, handguard style, grip type, and optics to match your shooting style and personal preferences.
2. Cost Savings
Building an AR-15 pistol can often be more economical than purchasing a pre-assembled firearm. By selecting individual components, you can find quality parts that fit your budget and save money overall.
3. Learning Experience
Assembling your AR-15 pistol provides valuable hands-on experience and a better understanding of the mechanics of the firearm, which can enhance your maintenance and troubleshooting skills.
4. Quality Control
Choosing the parts yourself allows you to ensure that each component meets your standards for quality and performance, resulting in a reliable firearm.
Key Components Needed for an AR-15 Pistol Build
To build an AR-15 pistol, you will need several essential components. Below is a checklist to guide you through your build:
1. Lower Receiver
- Description: The serialized component that legally qualifies as a firearm.
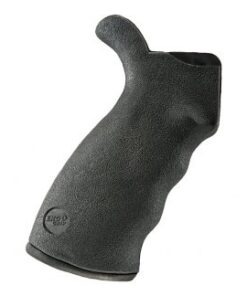
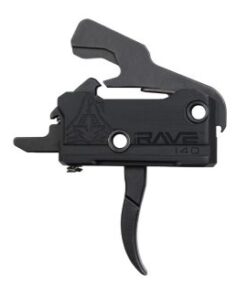
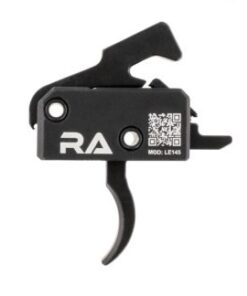
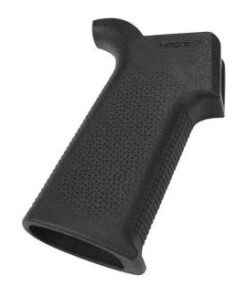
2. Lower Parts Kit (LPK)
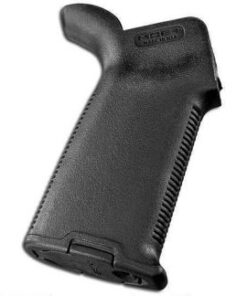
- Includes: Trigger assembly, pistol grip, safety selector, and all internal components necessary for the lower receiver.
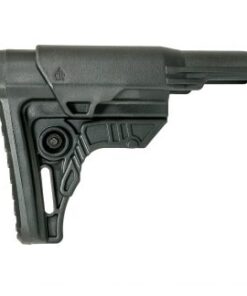
3. Pistol Buffer Tube
- Description: A specialized buffer tube designed for AR-15 pistols, often shorter than standard rifle buffers.
4. Bolt Carrier Group (BCG)
- Description: The assembly that houses the bolt and is crucial for cycling the action.
5. Upper Receiver
- Description: Contains the barrel, handguard, and attaches to the lower receiver.
6. Barrel
- Length: Choose a barrel length that suits your needs, typically between 10.5 inches and 16 inches for pistol configurations.
7. Handguard
- Description: Protects the shooter’s hand from heat and provides mounting points for accessories.
8. Muzzle Device
- Options: Flash suppressors or muzzle brakes to reduce recoil and muzzle rise.
9. Sights/Optics
- Description: Choose between iron sights or red dot optics for accurate aiming.
Steps to Build Your AR-15 Pistol
Step 1: Gather Your Tools and Parts
Before beginning assembly, ensure you have the necessary tools:
- Armorer’s wrench
- Punch set
- Screwdrivers
- Torque wrench
- Cleaning supplies
Step 2: Assemble the Lower Receiver
- Install the Trigger: Begin by inserting the trigger into the lower receiver according to the instructions in your lower parts kit.
- Secure the Safety Selector: Insert and secure the safety selector.
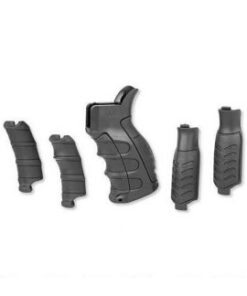
- Attach the Pistol Grip: Attach the pistol grip to the lower receiver, securing it with the appropriate screws.
- Add the Buffer Tube: Install the pistol buffer tube, ensuring it is threaded correctly.
Step 3: Assemble the Upper Receiver
- Insert the Barrel: Place the barrel into the upper receiver and secure it with the barrel nut.
- Add the Handguard: Attach the handguard to the upper receiver, aligning it with the barrel and securing it as needed.
- Install the Bolt Carrier Group: Insert the BCG into the upper receiver, making sure it operates smoothly.
Step 4: Combine the Upper and Lower Receivers
- Align the Receivers: Place the upper receiver onto the lower receiver, ensuring they are aligned correctly.
- Secure the Takedown Pins: Insert the takedown pins to lock the upper and lower receivers together.