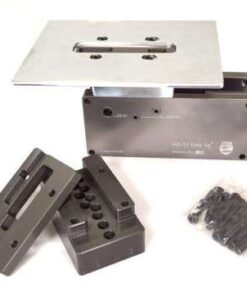
AR15 80 LOWER JIG
Easy Jig Gen 3: The Ultimate Tool for Milling 80% Lowers
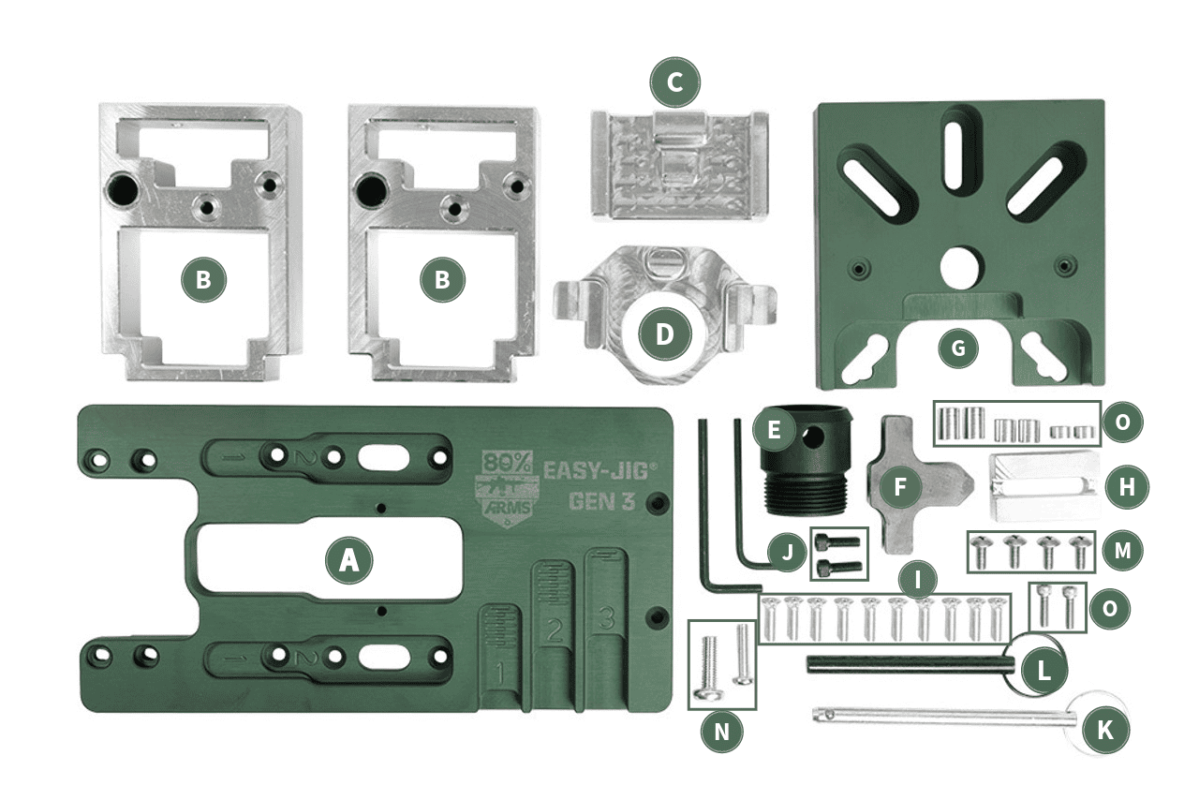
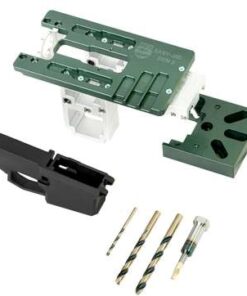
Introduction to Easy Jig Gen 3
The Easy Jig Gen 3 is a top-of-the-line tool designed for milling 80% lower receivers. This innovative jig simplifies the machining process, making it accessible for both beginners and experienced ghost gun for sale builders. With its user-friendly design and precise features, the Easy Jig Gen 3 helps you create a high-quality lower receiver with ease.
Key Features of Easy Jig Gen 3
- Adjustable Design: The Easy Jig Gen 3 accommodates various lower receiver designs, providing versatility for different builds.
- No Drill Press Required: Unlike some jigs that require a drill press, the Easy Jig Gen 3 can be used with a standard handheld router, making it more accessible.
- Built-In Depth Stops: The jig features adjustable depth stops to prevent over-milling, ensuring that you achieve the correct specifications every time.
- Durable Materials: Constructed from high-quality materials, the Easy Jig Gen 3 is designed for longevity and repeated use.
- Simple Setup: The jig is easy to set up, allowing you to start milling quickly without extensive preparation.
Benefits of Using Easy Jig Gen 3
- Increased Accuracy: The precision design of the Easy Jig Gen 3 ensures accurate cuts and drilling, leading to a functional lower receiver.
- Time Efficiency: The straightforward setup and operation save you time, allowing for quicker project completion.
- Enhanced Safety: With its secure design, you can work with confidence, knowing that your workpiece is stable during the milling process.
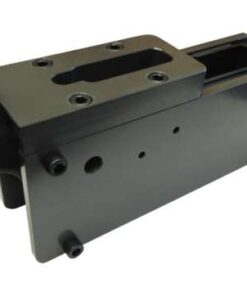
How to Use Easy Jig Gen 3
Using the Easy Jig Gen 3 is simple. Follow these steps for optimal results:
- Set Up Your Work Area: Ensure your workspace is clean and organized. Secure your router or milling machine.
- Attach the Jig: Place the Easy Jig Gen 3 on your work surface and secure the 80% lower receiver in the jig.
- Adjust Depth Stops: Set the depth stops according to the specifications of your lower receiver to prevent over-milling.
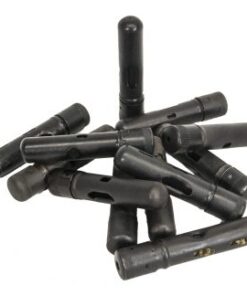
- Start Milling: Use your router to mill the fire control pocket and drill any necessary holes, following the jig’s guide for precision.
- Inspect Your Work: After milling, check for accuracy and make any necessary adjustments.
Conclusion
The Easy Jig Gen 3 and easy jig gen2 is an invaluable tool for anyone looking to mill an 80% lower receiver. Its user-friendly design, combined with advanced features, ensures that you can achieve professional results in your DIY projects.
Explore More
For additional resources, consider checking out:
- How to Choose the Right 80% Lower Receiver
- Common Mistakes to Avoid When Using an Easy Jig
- The Benefits of Building Your Own Firearm
With the Easy Jig Gen 3, you can take your firearm building skills to the next level, enjoying the satisfaction of creating a custom lower receiver tailored to your specifications.

 Assorted BUTTSTOCK CLEANING KIT for AK Brand New, Factory wrapped.
1 × $29.99
Assorted BUTTSTOCK CLEANING KIT for AK Brand New, Factory wrapped.
1 × $29.99  AR-15 10.5″ Tungsten Pistol Upper 10″ M-Lok
1 × $224.95
AR-15 10.5″ Tungsten Pistol Upper 10″ M-Lok
1 × $224.95 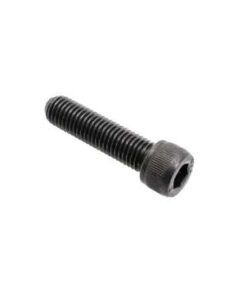 Ar15 Pistol Grip Bolt
1 × $1.49
Ar15 Pistol Grip Bolt
1 × $1.49 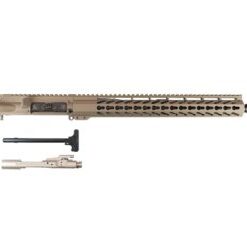 16″ FDE AR-15 Upper 15″ Flat Dark Earth Free Float Keymod with NIB BCG
2 × $339.95
16″ FDE AR-15 Upper 15″ Flat Dark Earth Free Float Keymod with NIB BCG
2 × $339.95  GREEN MOUNTAIN GM-TANTAL 16.638″ 5.45 x 39mm Polish Tantal Barrel
1 × $229.99
GREEN MOUNTAIN GM-TANTAL 16.638″ 5.45 x 39mm Polish Tantal Barrel
1 × $229.99